
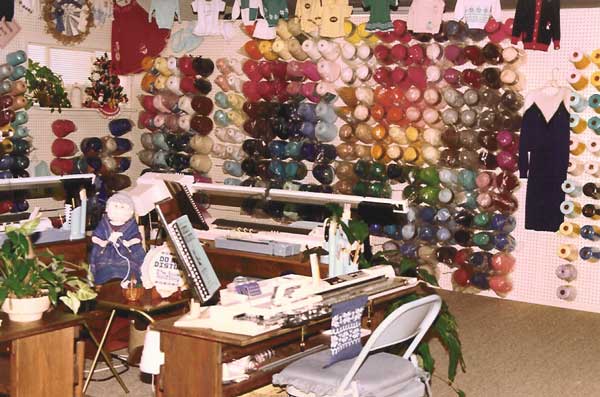
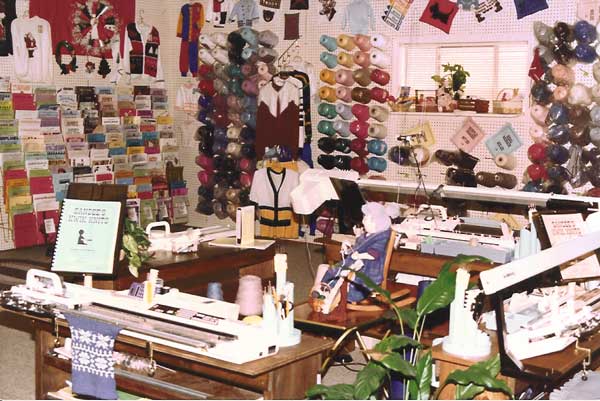
These were taken before we lost the business in a fire a number of years ago. They don't show the entire store, but I always loved how easy it was to see and display the yarn on pegboard. When you use shelves they take up more floor space, make the room smaller, and the yarn is hidden at the back of the shelf. Using pegboard, you are able to space the pegs for the different size cones so you have very little wasted space.
Putting the machines in a square also made it easy to work and move around. Many of my customers did this same thing in their knitting rooms so I thought I would share the photo's in hopes it might show you an easy way to keep your yarn and knitting organized. We did not rebuild so this is no-longer...
You will also notice we were careful to put colors that looked good next to each other. Remember when hanging your yarns it's much easier to see and work with the colors for your garments if they enhance the other colors around them. We only kept 2 cones of each color in each brand out and the rest was kept in the back to restock from. The book racks we used could be hung on the pegboard or were freestanding. Organize the books by author to make it easier to find titles. If you don't know how to hang the pegboard, read on...
When hanging the pegboard use 2 inch wide furring strips (lumber 2"x ¾"x 8') behind it so the pegboard doesn't sit flush against the wall. If you don't put the furring strips behind the pegboard it sits flat against the wall and you can't get the pegs into the holes. The furring strips are a spacer between the wall and the pegboard so you have the room to hang the pegs.
After doing a number of different remodels when we had the 2 knitting stores, we found if you run the furring strips and the pegboard horizontally, 3 furring strips the full length of each 4x8 piece of pegboard it works best and will keep it from bending and sagging. You will then nail or screw the strips into the wall and attach the pegboard to it. The holes in the pegboard where the strips are won't be able to be used, this is why you don't want a large piece of lumber behind the pegboard.
This is a great winter project so I hope you will enjoy organizing your knitting space!!